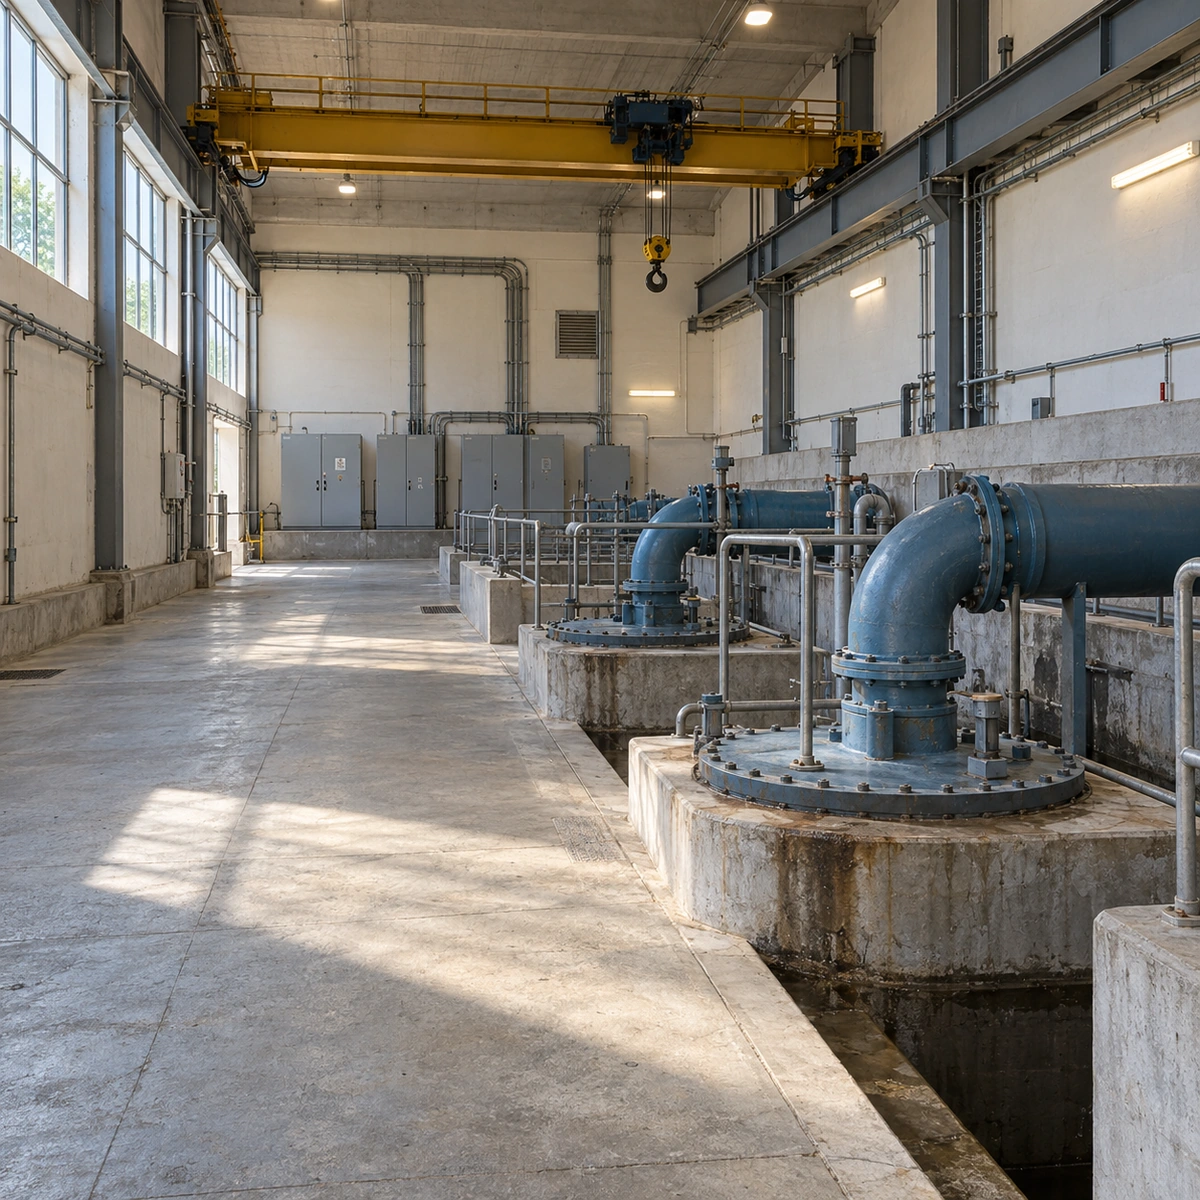
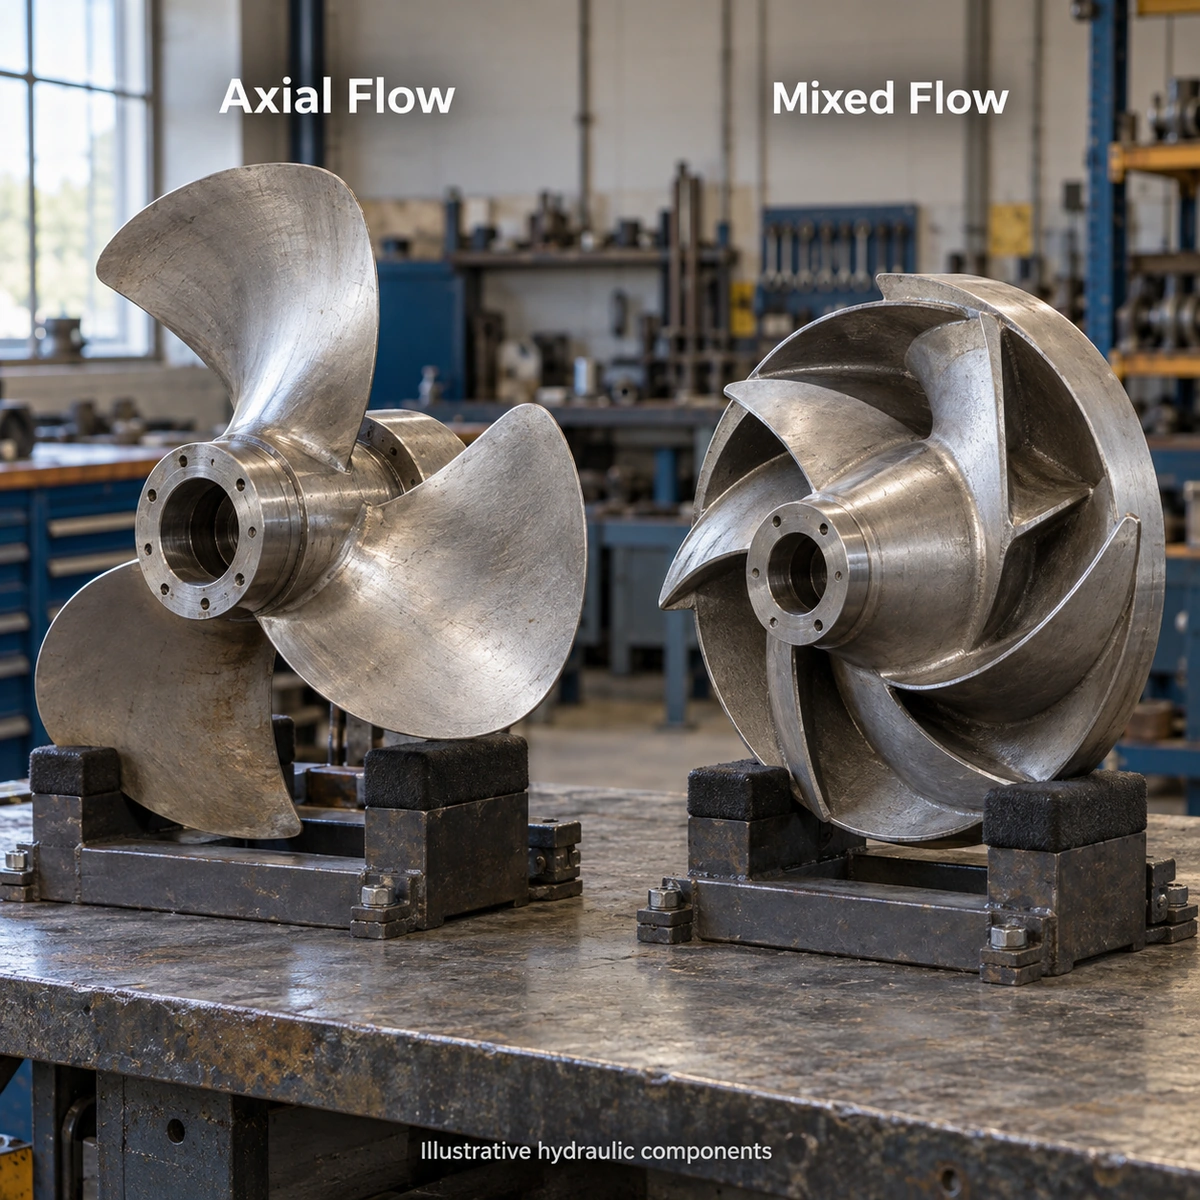
A correctly selected sewage pump can still give poor service if the wet well, discharge connection, guide rails, valves, cables, or level controls are installed incorrectly. Typical symptoms include repeated clogging, short cycling, nuisance trips, reverse flow, vibration, damaged cables, and a pump that cannot be removed without entering the wet well.
This guide explains how to plan a submersible sewage pump installation as one mechanical, hydraulic, electrical, and maintenance system. It covers permanent auto-coupling installations and portable arrangements for municipal wastewater, industrial effluent, drainage pits, and sewage lift stations.
For pump selection before installation planning, start with the non-clog pump selection guide for sewage lift stations.
Quick answer: what does a complete installation include?
A permanent wet-well installation normally includes the pump, an auto-coupling base elbow, guide rails, an upper rail bracket, a guide claw, a lifting chain, a discharge riser, pipe supports, a check valve, an isolation valve, level instruments, a control panel, and accessible cable routing.
| Installation question | What must be confirmed |
|---|---|
| Pump duty | Required flow, total dynamic head, operating range, solids, fibers, temperature, and number of pumps |
| Wet well | Internal dimensions, inlet position, floor condition, working volume, access hatch, ventilation, and lifting route |
| Installation method | Permanent auto-coupling, free-standing portable, suspended, or another manufacturer-approved arrangement |
| Guide system | Rail size, material, length, straightness, upper support, intermediate support if required, and guide claw compatibility |
| Discharge piping | Diameter, material, support, flange standard, thrust restraint, check valve, isolation valve, and force-main profile |
| Controls | Stop level, lead start, lag start, high-level alarm, alternation, motor protection, and failure response |
| Maintenance | Pump removal path, chain rating, hatch size, valve access, cable handling, and safe lifting equipment |
The approved pump drawing and installation manual control the final dimensions, anchor details, torque values, immersion limits, cable connections, and control settings. A generic diagram cannot replace the documents for the exact pump model.
How a wet-well auto-coupling installation works
In a permanent submerged installation, the auto-coupling base elbow is anchored to the wet-well floor and connected to the discharge riser. Guide rails run between the base and an upper bracket near the access opening. A guide claw on the pump slides along the rails as the pump is lowered.
When the pump reaches the bottom, its discharge connection seats against the coupling elbow. The pump can later be lifted along the same rails without dismantling the submerged discharge pipe.
The rails guide the pump. They do not carry the discharge piping, correct a twisted base elbow, or replace pipe supports. The lifting chain lifts the pump. The electrical cable must never be used as a lifting line.

Permanent auto-coupling or portable installation?
Both arrangements place the motor and pump in the liquid, but they suit different operating needs.
| Item | Permanent auto-coupling installation | Portable free-standing installation |
|---|---|---|
| Typical use | Sewage lift stations, treatment plants, fixed industrial pits | Temporary drainage, emergency pumping, construction sites, occasional transfer |
| Discharge connection | Pump seats automatically on a fixed base elbow | Flexible hose or removable pipe connection |
| Pump removal | Lifted by chain along guide rails | Lifted directly after disconnecting the temporary discharge |
| Pipework | Permanent riser and valve arrangement | Temporary or removable discharge line |
| Maintenance access | Pump can usually be removed without entering the wet well | Access depends on hose, cable, and pump position |
| Installation effort | More civil and mechanical work at the start | Faster initial setup |
| Main risk | Misaligned base, twisted rails, poor pipe support, or inaccessible valves | Unstable floor, hose movement, pump burial in solids, or cable damage |
For a frequently operated municipal sewage station, an auto-coupling system usually provides the cleaner maintenance arrangement. A portable setup can be suitable when the service is temporary and the pump stands on a firm, level base approved for that model.
Information to confirm before installation starts
Installation should not begin with an unopened pump crate beside a finished wet well. The contractor needs an approved package of hydraulic, mechanical, electrical, and civil information.
Pump and duty data
Confirm:
- Exact pump model and impeller configuration
- Rated flow and total dynamic head
- Permitted operating range on the pump curve
- Discharge size and flange or coupling details
- Solids passage and wastewater characteristics
- Motor power, voltage, frequency, phase, starting method, and cable length
- Duty rating and permitted starts per hour
- Minimum liquid level or minimum submergence
- Motor temperature, seal leakage, bearing, or vibration sensors supplied with the pump
- Pump weight, lifting points, and center of gravity
- Materials and compatibility with the wastewater
If the hydraulic duty or wastewater has not been settled, installation planning is premature. A general non-clog model, a cutter pump, and a high-head sewage pump may need different impellers, clearances, controls, and discharge arrangements.
Approved drawings
The site team should have the current revisions of:
- Pump general arrangement drawing
- Auto-coupling and guide rail drawing
- Wet-well plan and section
- Discharge piping and valve-vault drawing
- Control philosophy or sequence of operation
- Electrical single-line and panel drawings
- Cable schedule and terminal diagram
- Lifting and access plan
Model codes alone do not define the base elbow, rail spacing, guide claw, anchor pattern, or pump outline. These parts must belong to one compatible installation system.
Wet-well planning before the pump arrives
Check the finished civil dimensions
Measure the completed wet well against the approved drawing. Check the internal diameter or width, floor elevation, wall penetrations, hatch position, inlet elevation, valve-vault connection, and available removal height.
Small civil errors can become large mechanical problems. A shifted discharge penetration can pull the riser sideways. An off-center hatch can block the lifting path. An uneven floor can tilt the auto-coupling base and prevent the pump from seating evenly.
Record the actual dimensions before drilling anchors or cutting guide rails.
Keep inlet flow away from the pump intake and level instruments
Incoming wastewater should not strike the pump intake, guide rails, floats, or level sensor directly. Strong inlet flow can introduce air, disturb level readings, swing floats into cables, and create uneven solids deposition.
The wet-well geometry, benching, inlet direction, pump spacing, and operating levels should follow the approved hydraulic design. If the existing wet well has chronic sediment or rag accumulation, changing only the pump may leave the cause untouched.
Set operating levels from the pump and station design
Do not copy level settings from another station. The stop level must protect the pump from air entry, loss of motor cooling, vortex formation, and operation below the manufacturer’s permitted immersion level. The start level must provide useful wet-well volume without causing excessive storage or long wastewater retention.
For a duplex station, the level sequence commonly includes:
- Pump stop level
- Lead pump start level
- Lag pump start level
- High-level alarm
The actual spacing depends on wet-well area, inflow, pump capacity, permitted starts per hour, control response, and the exact pump model. A separate backup high-level device may be required by the project specification.
Provide a clear removal route
The pump must pass through the access hatch with the guide claw, chain, and cable attached as intended. Use the largest removal envelope rather than the pump body diameter alone when checking the hatch opening.
The lifting device must reach the pump’s lifting point and move the pump to a safe service position. Confirm rated capacity for the pump, attached components, lifting chain, and any expected liquid or debris carried with the pump.
Main parts of an auto-coupling installation
| Component | Function | Installation check |
|---|---|---|
| Auto-coupling base elbow | Fixed discharge connection and pump seat | Correct model, level foundation, anchor pattern, orientation, sealing face, and outlet direction |
| Guide rails | Guide the pump between the hatch and base | Correct diameter, spacing, material, straightness, length, and support arrangement |
| Upper rail bracket | Holds the top of the rails in position | Secure anchorage, correct alignment, and enough hatch clearance |
| Intermediate rail support | Limits rail movement on deeper installations when specified | Location and fixing method from the approved drawing |
| Guide claw or shoe | Connects the pump to the rails and coupling interface | Correct pump pattern, fasteners, orientation, and free movement |
| Lifting chain | Raises and lowers the pump | Rated load, corrosion resistance, certified hardware, and accessible storage point |
| Discharge riser | Carries pumped wastewater out of the wet well | Independent supports, correct diameter, restrained joints, and accessible connection to the valve chamber |
| Check valve | Limits reverse flow after pump shutdown | Correct type, orientation, closing behavior, access, and pressure rating |
| Isolation valve | Isolates one pump branch from the common header | Full opening, accessible operator, correct flow direction where applicable, and pressure rating |
| Level instruments | Send start, stop, lag, and alarm signals | Correct elevation, clear movement or sensing path, and accessible cable support |
| Control panel | Starts, protects, alternates, and alarms the pumps | Correct voltage, starting method, protection functions, logic, and enclosure location |
Step-by-step auto-coupling and guide rail installation
The sequence below is a planning guide. Use the pump manufacturer’s procedure and project method statement for the actual work.
1. Inspect the wet well and isolate the work area
Confirm that civil work is complete, the area is safe for mechanical installation, and inflow is controlled as required by the site plan. Remove loose concrete, debris, welding rods, rags, and standing solids from the base area.
Work in or around a sewage wet well may involve toxic gases, oxygen deficiency, biological hazards, electrical hazards, and suspended loads. Apply the site’s confined-space, lifting, lockout, ventilation, and gas-testing procedures. Personnel should not enter the wet well merely because the pump can be reached from the hatch.
2. Survey the base elbow position
Mark the coupling centerline, outlet direction, rail position, and anchor locations from the approved drawing. Check the relationship between the base elbow, riser, wall penetration, and hatch.
The coupling face must point in the correct direction and remain accessible to the descending pump. Do not force the discharge pipe into position after anchoring the base.
3. Install and level the auto-coupling base
Set the base elbow on the designed foundation or mounting surface. Level and align it before final anchor tightening. Use the specified anchors, grout, washers, torque, and curing procedure.
The wet-well floor must support the base without rocking. Packing pieces or site-made modifications should not be used unless the project engineer approves them.
4. Install the discharge riser and pipe supports
Connect the riser without pulling, twisting, or lifting the coupling base. Support the pipe independently so its weight and hydraulic loads do not pass through the pump or coupling elbow.
Check the riser for vertical alignment, joint restraint, flange orientation, and clearance from the pump removal path. Provide thrust restraint and expansion provisions required by the piping design.
5. Fit the guide rails and upper bracket
Place the rails in the base sockets or lower guides. Cut them to the approved length, keeping both rails equal where a twin-rail system is used. Position the upper bracket so the rails remain straight and correctly spaced.
Rails that lean, bow, twist, or spread can jam the guide claw. Check alignment over the full travel path. Fit intermediate supports only where the approved system requires them, and use the manufacturer’s fixing arrangement.
6. Install the guide claw on the pump
Confirm the claw model, orientation, sealing profile, fasteners, and torque. The claw should move freely on the rails without excessive play that could let the pump rotate or bind.
Inspect the pump discharge face and coupling seal. Remove transport covers and dirt, but do not damage coated or machined sealing surfaces.
7. Attach the lifting chain and manage the cables
Connect the lifting chain to the designated lifting point. Do not attach it to the power cable, sensor cable, guide claw, handle not rated for lifting, or discharge opening.
Route power and sensor cables so they cannot enter the pump intake, wrap around the rails, rub against the chain, or become trapped between the pump and coupling. Allow enough slack for lifting while keeping the cables supported above the working liquid where the design permits.
8. Lower the pump slowly
Place the guide claw over the rails and lower the pump under control. Watch the chain and cables throughout the descent. Stop if the pump binds. Raising it slightly and finding the cause is safer than forcing it down.
The pump should reach and seat on the coupling through its own guided movement. Do not pull it sideways with the cable or use the chain to force the discharge faces together.
9. Confirm seating and retrieval
Check that the pump has reached its intended position and that the chain is not carrying the pump’s operating weight. Secure the chain at the designated upper point without creating a trip hazard or allowing it to fall into the well.
Before wet commissioning, perform a controlled retrieval test if the method statement requires one. This confirms that the pump can disengage, travel through the hatch, and return to the coupling without obstruction.
10. Complete piping, valves, and electrical connections
Finish the accessible discharge piping, supports, valves, pressure instruments, cable terminations, earthing, panel wiring, and level devices. Keep the pump isolated until the mechanical and electrical inspections are signed off.
Correct discharge valve arrangement
A common arrangement for each pump branch is:
Pump -> auto-coupling elbow and riser -> check valve -> isolation valve -> common header or force main
The check valve limits reverse flow and reverse rotation after shutdown. The isolation valve allows one pump branch or valve to be serviced while the rest of the station remains isolated as designed. In a multi-pump station, each pump normally has its own check valve and isolation valve before the branches join the common header.
The exact arrangement, valve type, and location must follow the project standard and surge analysis. Some projects use a valve vault outside the wet well so operators can inspect and service the valves without exposure to the wet-well atmosphere.

Choosing the check valve
The check valve must suit sewage, expected solids, velocity, pump start frequency, pressure, and closing conditions. A valve that closes too slowly may allow damaging reverse flow. A valve that closes too quickly can add to pressure surge.
Compare swing, wafer, ball, and controlled-closing designs against the actual duty. Norite’s check valve guide for pump stations explains how closure behavior, water hammer, and maintenance affect the choice.
Choosing the isolation valve
The isolation valve should provide a clear flow path suitable for the solids in the wastewater. The project specification may call for a full-port eccentric plug valve, gate valve, or another sewage-service design. Norite’s guide to wastewater valves used in treatment plants provides a wider comparison of isolation, check, air, and sludge valve options. Confirm the opening, seat material, coating, actuator or operator, pressure rating, and access space.
The isolation valve is normally fully open during pump operation. Throttling a sewage pump with a partly closed isolation valve should only occur under an approved operating procedure and within the pump’s permitted range.
Flexible joints and pipe support
A coupling or flexible joint can help with an approved connection detail or limited installation tolerance. It does not carry the valve assembly, absorb unrestricted thrust, or correct poor pipe alignment. Pipe supports and restraint remain necessary.
If the layout includes a coupling beside the valve chamber or pump discharge pipe, review the flexible joint installation and valve protection guide before finalizing the detail.
Air valves on the force main
Do not add an air valve at a convenient high point without checking the complete force-main profile and transient behavior. The type and location depend on filling, draining, operating pressure, wastewater solids, access for cleaning, and surge conditions. A wastewater air valve also needs a maintenance plan because solids and grease can foul small passages.
Level controls and pump operating logic
Common level-sensing methods
| Method | Where it fits | Checks before use |
|---|---|---|
| Float switches | Simple stations, backup alarms, or discrete start and stop control | Free swing, cable length, turbulence, grease, entanglement, and mounting position |
| Hydrostatic level transmitter | Continuous level measurement in many wet wells | Sensor range, cable venting where applicable, fouling, mounting, and backup alarm |
| Ultrasonic or radar sensor | Non-contact measurement from above the liquid | Beam path, foam, condensation, obstructions, mounting distance, and dead zone |
| Conductive or electrode device | Selected liquids and applications | Conductivity, coating, corrosion, mounting, and cleaning access |
No single device suits every wet well. Raw sewage, grease, foam, turbulence, condensation, and ragging can affect the reading. Many stations use one primary continuous sensor plus an independent high-level float.
Typical duplex control sequence
For two pumps, a typical sequence is:
- Both pumps stop at the approved stop level.
- The lead pump starts when the level reaches the lead start point.
- The lag pump starts if inflow continues and the level reaches the lag point.
- A high-level alarm operates if the level continues to rise.
- Lead duty alternates between pumps after each completed cycle or according to the specified logic.
- If the lead pump fails to start or trips, the controller calls the available standby pump and sends an alarm.
The control narrative should also define what happens after power failure, phase loss, overload, motor overtemperature, seal leakage, sensor failure, communication loss, and emergency stop.
Minimum functions to consider in the control panel
- Hand, off, and automatic control for each pump
- Main isolator and individual pump protection
- Short-circuit, overload, phase, and earth-fault protection as required
- Alternation for duty and standby pumps
- Lead and lag operation
- High-level alarm independent of normal control where specified
- Pump fail-to-start and unexpected-stop alarms
- Motor temperature and seal leakage inputs when supplied
- Run status, current, starts, runtime, and trip history
- Local audible and visual alarm outputs
- Remote dry contacts, telemetry, or SCADA interface where required
- Safe reset logic that does not restart equipment unexpectedly
Using a variable-frequency drive
A variable-frequency drive can control flow or level in some stations, but the minimum speed must still maintain acceptable pump operation, motor cooling, solids transport, and force-main conditions. Low speed can increase deposition or move the pump outside its permitted hydraulic range.
Confirm motor suitability, cable length, output filtering, switching frequency, bearing protection where applicable, sensor compatibility, and bypass philosophy with the pump and drive suppliers.
Electrical installation checks
Electrical work should be completed and tested by qualified personnel under the local electrical code and the approved panel drawings.
Check the following before energizing the pump:
- Supply voltage and frequency match the nameplate
- Phase sequence and rotation are correct
- Cable size and length suit the motor and starting method
- Earth continuity and insulation resistance meet the approved test requirements
- Cable glands and junction boxes match the wet and corrosive environment
- Power and sensor cables are identified at both ends
- Submerged cable splices are avoided unless the manufacturer and project specification permit an approved system
- Cable entries do not provide a gas or moisture path into the control panel
- Motor temperature, seal leakage, and other sensors are wired to the correct terminals
- Overload and protection settings match the motor data
- Hazardous-area requirements are applied where the wet well is classified
Do not run the pump dry for an extended rotation test. Follow the manufacturer’s method for checking direction of rotation, and keep personnel clear of the impeller and suspended equipment.
Commissioning procedure
Commissioning should prove the complete station. Confirming that each motor turns is only one part of the test.
Mechanical inspection before filling
- Verify base anchors, riser supports, flange bolts, joint restraint, rail brackets, and chain fixing points
- Remove construction debris from the wet well and piping
- Confirm each pump can be lowered, seated, lifted, and reseated
- Check that cables and level devices remain clear of the pump intake and lifting path
- Confirm check valves and isolation valves are installed in the correct direction
- Open the required discharge isolation valves before the test run
- Verify the force main is ready to receive flow
Electrical and control inspection
- Record insulation, continuity, earth, and protection test results
- Verify rotation by the approved procedure
- Test hand, off, and automatic modes
- Simulate or operate stop, lead start, lag start, and high-level alarm signals
- Prove pump alternation and standby takeover
- Test overload, temperature, seal, and failure alarms provided by the system
- Verify telemetry or SCADA points against the point schedule
Wet functional test
Run each pump separately and then test the required combined operating condition. Record:
- Wet-well levels at start and stop
- Drawdown time and calculated or measured flow
- Discharge pressure or total head where instruments are available
- Motor voltage and current by phase
- Noise and vibration observations
- Check valve closing behavior
- Evidence of reverse flow after shutdown
- Coupling or piping leakage
- Number of starts and cycle time under test inflow
- Alarm and standby response
Compare the operating point with the approved pump curve and system duty. A pump that runs quietly can still be operating too far left or right on its curve.
Common submersible sewage pump installation mistakes
1. Installing before the final pump drawing is approved
The base elbow, rail spacing, anchors, flange pattern, and removal envelope may differ between pump families. Civil work based on a catalogue image can require expensive rework.
2. Using the guide rails to correct base misalignment
Bent or leaning rails can make the pump bind during removal. Align the coupling base, riser, and upper bracket as one system.
3. Leaving the discharge pipe unsupported
Pipe weight and thrust can distort the coupling, strain flanges, and shift the base. Support and restrain the piping independently.
4. Lifting the pump by its electrical cable
Cable damage can allow water to reach conductors or the motor. Use the designated lifting point and rated chain.
5. Letting floats, cables, and chains cross each other
An entangled float may fail to start a pump or trigger an alarm. Lay out each item through its full range of motion before commissioning.
6. Setting the stop level too low
Low liquid level can introduce air, reduce motor cooling, create vortexing, or expose the pump to operation outside its approved immersion limit.
7. Setting the level band too narrow
A narrow start and stop band can cause frequent starts. Check the useful wet-well volume, inflow, pump capacity, and permitted starts per hour.
8. Putting valves where they cannot be serviced
A valve in an inaccessible wet well may receive little inspection until it fails. Provide access, lifting clearance, drainage, and enough room to remove the valve or actuator.
9. Choosing a check valve by pipe diameter alone
Closing time, reverse velocity, solids, orientation, and surge matter. Check valve selection is part of the pump station hydraulic review.
10. Testing only normal operation
The station also needs tests for high level, lead-pump failure, sensor failure, power restoration, overload, remote alarms, and manual operation.
11. Ignoring the removal route
Piping, conduit, rail brackets, or a small hatch can trap the pump in the wet well. Test the full lifting route before handover.
12. Treating a cutter pump as a cure for every wet-well problem
Poor inlet geometry, accumulated grit, unsuitable operating levels, and low force-main velocity can remain after a cutter pump is installed. Select the pump for the wastewater and correct the system conditions separately.
Matching the installation to Norite sewage pump options
Norite supplies several sewage pump configurations that can be reviewed against the same installation checklist.
QW series for general non-clog sewage duties
The QW Series non-clogging submersible sewage pump is a starting point for municipal sewage, industrial wastewater, and drainage duties that need a conventional solids-handling pump. Available installation arrangements can include fixed and guide-rail coupling configurations, subject to the selected model and approved drawing.
QWS series where cutting is required
The QWS non-clog cutting submersible sewage pump is intended for applications where fibrous material and difficult debris justify a cutting mechanism. The RFQ should describe wipes, fibers, rags, solids, and expected loading instead of requesting a cutter only by name.
QWX series for higher-head sewage service
The QWX high-lift sewage pump can be considered where the required total dynamic head is above the range of a general sewage duty. High head does not remove the need to check solids passage, system curve, surge, valve closure, motor protection, and minimum operating flow.
| Project condition | First pump family to review | Installation point requiring attention |
|---|---|---|
| General municipal or industrial sewage | QW non-clog pump | Solids passage, guide-rail compatibility, wet-well hydraulics, and removal access |
| Long fibers, wipes, or recurring ragging | QWS cutting sewage pump | Cutter access, wear inspection, control response, and debris description |
| Higher static lift or long force main | QWX high-lift sewage pump | System curve, surge, check valve closure, motor load, and force-main profile |
| Temporary drainage or mobile service | Compatible portable configuration | Stable base, hose restraint, cable protection, and safe retrieval |
Final selection must use the required flow, total dynamic head, wastewater data, solids, installation method, power supply, and approved pump curve.
Contractor installation checklist
Before delivery
- Approved pump, coupling, guide rail, wet-well, piping, and electrical drawings are available
- Pump duty and system curve are approved
- Pump and accessories are one compatible installation package
- Wet-well dimensions and hatch opening have been checked on site
- Lifting equipment and storage location are planned
- Discharge valves, pipe supports, anchors, and instruments are available
- Control logic and level setpoints have an approval route
On receipt
- Check model, serial number, motor data, cable length, accessories, and packing list
- Inspect the pump, cable, coating, guide claw, coupling faces, rails, chain, and base elbow for transport damage
- Store the pump and elastomer parts according to the supplier’s instructions
- Protect machined faces, cable ends, and coatings during site handling
During installation
- Record actual wet-well dimensions and anchor positions
- Confirm base level, outlet direction, rail alignment, and upper bracket position
- Support the riser independently
- Keep lifting chain and electrical cables separated and accessible
- Verify valve flow direction and operating access
- Record anchor, flange, and electrical test results
Before handover
- Complete dry inspections and wet functional tests
- Record flow, head, current, levels, cycle times, and alarm tests
- Demonstrate pump removal and reseating
- Label valves, cables, level devices, and panel controls
- Provide approved drawings, pump curve, manual, test records, spares list, and maintenance schedule
- Train the operator on normal operation, alarms, isolation, lifting, and emergency response
What to include in a pump installation RFQ
A useful RFQ gives the supplier enough information to check the pump and installation hardware together.
Hydraulic data
- Required flow for one pump and multiple-pump operation
- Total dynamic head or static head plus pipeline data
- Wet-well operating levels
- Force-main length, diameter, material, elevation profile, and discharge point
- Existing or proposed system curve
- Number of duty and standby pumps
Wastewater data
- Municipal, industrial, drainage, or mixed source
- Temperature and pH range
- Solids size and concentration where known
- Fibers, wipes, rags, grease, grit, or abrasive material
- Corrosive chemicals or unusual contaminants
Mechanical and civil data
- Wet-well plan, section, and internal dimensions
- Inlet position and elevation
- Access hatch size and lifting height
- Permanent auto-coupling or portable arrangement
- Required guide rail and chain materials
- Discharge connection, flange standard, pipe material, and valve arrangement
- Coating and corrosion protection requirements
Electrical and control data
- Voltage, frequency, phase, and site power limits
- Starting method or variable-frequency drive requirement
- Required cable length
- Panel enclosure and installation location
- Level-sensing method
- Lead and lag logic, alternation, alarms, telemetry, and SCADA points
- Required motor temperature, seal leakage, and other sensors
- Hazardous-area classification if applicable
Send the duty point, wastewater description, wet-well drawing, power supply, control requirements, and valve arrangement through the Norite contact page so the pump and installation package can be checked together.
FAQs about submersible sewage pump installation
Does every submersible sewage pump need guide rails?
No. Permanent wet-well pumps often use an auto-coupling and guide rail system. Portable pumps may stand on approved feet and connect to a removable hose or pipe. Use only an installation method approved for the exact pump model.
What is an auto-coupling for a sewage pump?
It is a fixed discharge connection that allows the pump to seat when lowered along guide rails. The pump can later be lifted without dismantling the submerged discharge riser.
Do guide rails support the weight of the pump during operation?
The rails guide the pump. The coupling base and pump seat carry the installed pump according to the manufacturer’s design. The lifting chain should not remain loaded as if it were suspending the pump.
Can the electrical cable be used to lift the pump?
No. Lift the pump only from the designated lifting point with rated equipment. Pulling the cable can damage its sheath, conductors, entry seal, or internal connections.
Where should the check valve be installed?
A common arrangement places the check valve on each pump discharge branch between the pump and the isolation valve. The final location and valve type must follow the approved station design, access requirements, and surge review.
Does a sewage pump also need an isolation valve?
Permanent multi-pump stations normally need a way to isolate each branch from the common header for service. The required isolation valve type depends on solids, pipe size, pressure, project standard, and maintenance access.
How low can the wet-well stop level be set?
Use the minimum liquid level stated for the exact pump and installation. The setting must also prevent air entry and unacceptable vortexing and maintain the cooling required by the motor duty.
Why does a sewage pump start and stop too often?
Common causes include a narrow level band, a small useful wet-well volume, incorrect sensor settings, an oversized pump, high inflow variation, check valve leakage, or control logic errors. Record the actual levels, cycle time, inflow, and pump flow before changing settings.
Should two sewage pumps alternate?
Duty and standby pumps commonly alternate to share runtime and prove that both units remain available. The control sequence should also start the standby pump if the lead pump fails or the level reaches the lag start point.
Can a variable-frequency drive be used on a submersible sewage pump?
Yes, when the motor, cable, control system, and pump application are suitable. Confirm the permitted speed range, motor cooling, solids transport, electrical filtering, protection settings, and pump curve with the suppliers.
What should be tested before the station is handed over?
Test pump seating and retrieval, rotation, individual and combined operation, start and stop levels, alternation, lag start, high-level alarm, protection trips, remote signals, flow, head, current, valve operation, leakage, and reverse flow after shutdown.
Final installation recommendation
Freeze the pump duty and approved installation drawing before drilling anchors or cutting rails. Survey the completed wet well, align the coupling base and guide system, support the discharge pipe independently, keep valves accessible, and prove every control and alarm during wet commissioning.
For a new sewage lift station, send Norite the required flow, total dynamic head, wastewater characteristics, wet-well drawing, discharge profile, power supply, control sequence, and preferred installation method. The pump, guide system, valves, and controls can then be reviewed as one package before quotation.